


Panel Series
Getting maximum benefit from red light therapy requires matching the right wavelengths, irradiance dose, session duration, and timing to your specific goals. This guide draws on peer-reviewed photobiomodulation dosing research to help you build an effective evidence-based protocol.
Summary: Setting up a home red light therapy space does not need to be complicated or expensive. With the right location, device choice, and layout, you can create a setup that is comfortable, consistent, and easy to use. This guide walks through the key decisions step by step so you can build a space that fits your goals, your home, and your routine.
Need a deeper dive into red light therapy? Check out our full overview
Red Light Therapy: Benefits, Science, and How It Works
Choosing the Right Location in Your Home
When setting up a home red light therapy space, location is key to creating an optimal environment. You want to pick a spot that’s both practical and comfortable for regular use. This section will help guide you through selecting the right room and setting it up for the best experience.
Space Requirements and Ceiling Height
Ensure there’s enough room for the device. Tabletop panels range from 12" to 14.5" wide and 9" to 10" tall. Mid-size panels are 18" to 24" tall by 10" to 12" wide, and large home panels are 10" to 12" wide by 36" to 43" tall. The MitoPRO MEGAX is 64" x 17" x 3". Larger models like the MitoCOMMERCIAL Plus Series are 75" x 23" x 3". If using a Mito vertical or horizontal stand, add 32" wide by 29" deep, with an extra 6" to the height for the wheel assembly and support legs.
Ventilation Heat and Electrical Considerations
Ensure the room is comfortable during use, especially with larger or higher output panels. LED red light therapy devices do not overheat rooms, but longer sessions or higher wattage setups can make a space feel warm over time. Light airflow from an open door or small fan is usually enough to maintain comfort.
Power requirements vary by device. Tabletop panels typically draw 90w to 130w, mid-size panels 180w to 310w, full-size home panels 375w to 460w, and multi-panel arrays 555w to 1540w depending on configuration. The MitoPRO MEGAX draws 900w, and the commercial line draws up to 1200w or 1400w per panel. Most homes use 15 amp outlets rated for around 1800 watts, so higher output setups may benefit from avoiding other high-draw devices on the same circuit. In some cases, a dedicated 20 amp line can be installed to provide additional headroom.
Privacy Lighting and Distraction Control
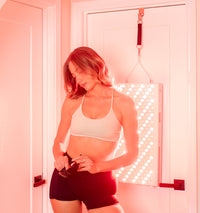
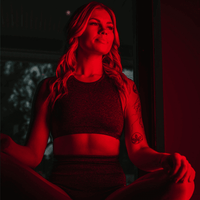
Create a private, quiet space. Use room dividers or blinds for privacy, and accent lighting to avoid harsh overhead lights. Consider placing furniture like tables to define the treatment area. Minimize distractions by turning off phones and setting up away from TVs and electronics. A calm, focused environment will help you stick to your routine and maximize the benefits.
Key Points
-
Ensure enough space for the device, with appropriate clearance based on panel size (e.g., tabletop, mid-size, full-size)
-
For larger panels, plan for additional space if using a Mito vertical or horizontal stand (32" x 29" footprint, with 6" extra height for stands)
-
Keep the room comfortable with basic airflow, especially during longer sessions or when using higher output panels
-
Create privacy and minimize distractions by using room dividers, blinds, and accent lighting to define the treatment area
 MitoADAPT MID 4.0 & MAX 4.0 | Red Light Therapy Panel - Mito Red Light">
Selecting the Right Red Light Therapy Device
Choosing the right red light therapy device depends on your goals, available space, and preferred usage. This section will help you understand the differences between panels, mats, and pods, and how to choose the right option based on whether you need full body coverage or targeted therapy.
Panels Mats and Pods Compared
Panels are the most common type of red light therapy device. They offer the most convenience, as they are easy to set up, use, and maintain. Panels generally require low maintenance and are easy to clean, making them ideal for regular use. They are versatile, offer strong irradiance, and can provide full-body coverage depending on their size. Panels can be used standing, seated, or lying down with the proper stand. They come in various sizes, from smaller handheld options to larger models that cover the whole body. Panels are typically wall-mounted or placed on a stand.
Full Body Coverage vs Targeted Therapy
For full body coverage, panel arrays, larger floor-standing panels, mats, and pods are ideal. Panel arrays and large floor-standing panels provide efficient treatment for overall recovery and skin rejuvenation, saving time by covering more of the body at once. Mats are flexible for full-body treatment while lying down, and pods offer an immersive experience with light surrounding the body. The MitoPOD provides a unique enclosed experience, while the MitoPRO MEGAX offers full-body coverage in a more compact design, also saving time with its wide coverage area.
For targeted therapy, smaller panels, handheld devices, and the MitoQUAD belt allow for focused treatment on specific areas like the waist, back, and limbs.
Standing Sitting and Lying Down Preference
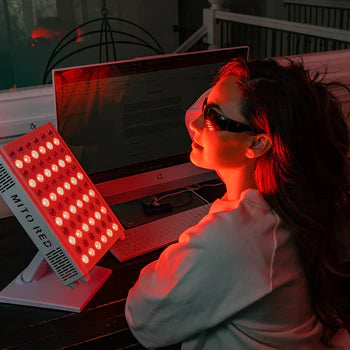
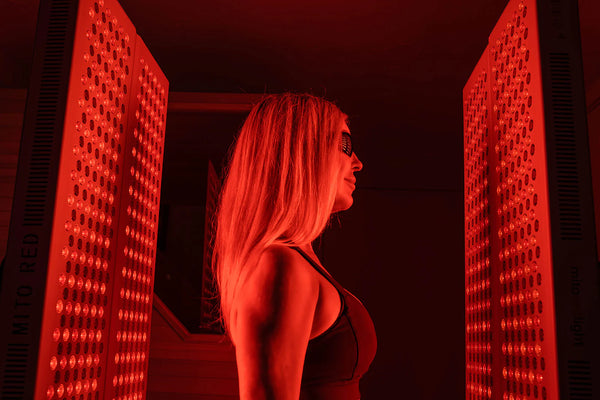
Standing is typically the most common position for using larger panels or wall-mounted units. It allows you to position the device at the optimal distance from your body for full-body coverage, making it ideal for quick and effective treatments. Sitting works well for smaller tabletop panels or pods, providing a comfortable way to target specific areas of the body, especially for localized therapy. Sitting is also a good option for those who prefer a more relaxed session, particularly when using seated therapy pods.
Lying down is ideal for full-body treatments with mats, larger panels, or pods, allowing you to relax while receiving therapy. Mats and pods are particularly suited for this position, offering full-body coverage while you rest comfortably.
Key Points
-
Standing is ideal for larger panels or wall-mounted units, allowing for full-body coverage.
-
Lying down is best for full-body treatments with mats, larger panels, or pods, offering a relaxed experience while treating the whole body.
Designing Your Layout and Body Position
Once you’ve chosen your device and preferred body position, layout becomes about arranging the space so treatments are easy and repeatable. This section focuses on furniture placement, panel orientation, and room flow rather than device selection.
Standing Layouts and Panel Orientation
Standing layouts work best with wall-mounted panels, floor-standing panels, or panel arrays. Panels should be positioned to provide even top-to-bottom coverage without requiring movement during the session. This layout works well in open rooms or dedicated spaces with minimal furniture.
Seated Layouts With Chairs and Benches
Seated layouts are built around comfort and stability. Chairs or benches should be positioned so the panel can remain at a consistent distance throughout the session. This setup is ideal for targeted treatments or longer sessions where standing is less comfortable.
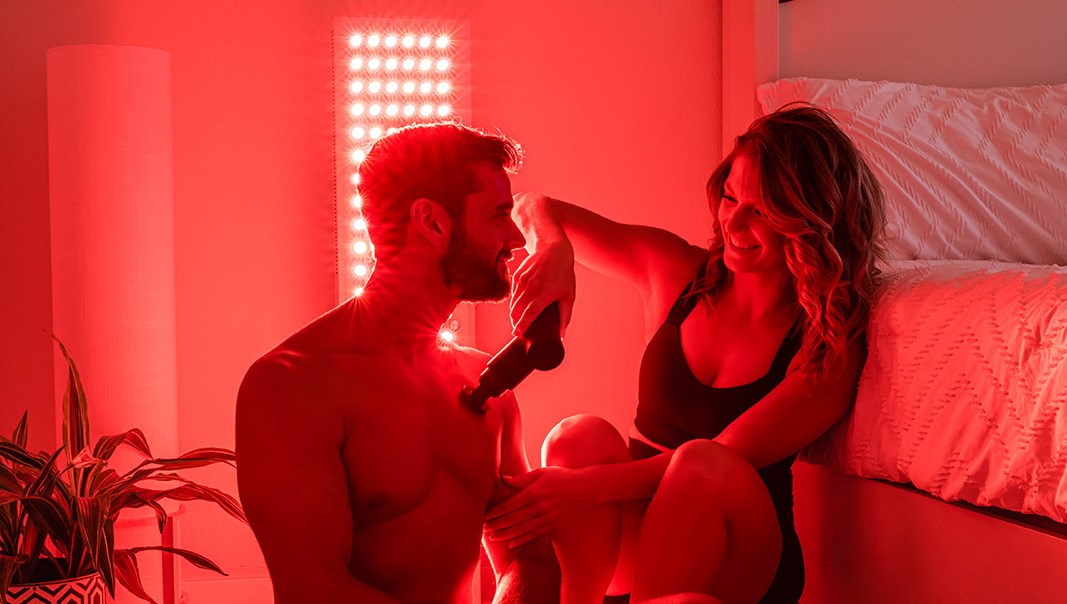
Lying Down Layouts With Beds Mats and Tables
Lying down layouts prioritize relaxation and consistency. Mats can be placed on the floor or bed, while panels can be positioned alongside a bed, massage table, or couch. The goal is maintaining steady coverage without needing to adjust position during treatment.
Key Points
-
Standing layouts work best with wall-mounted panels, floor-standing panels, or arrays positioned for even top-to-bottom coverage.
-
Seated layouts should prioritize stability and consistent distance using chairs or benches.
-
Lying down layouts focus on relaxation and minimal movement, using mats on the floor or panels positioned beside beds or tables.
-
The goal of any layout is steady coverage without needing to adjust position during a session.

Creating a Comfortable and Safe Environment
Once your space and layout are in place, comfort plays a big role in how easy it is to use red light therapy consistently. Small adjustments to eye comfort, session length, and body position can make sessions feel effortless rather than forced.
Eye Protection and Eye Covers
Red light therapy devices are bright, so eye comfort should always be considered. For body treatments where light is not directed toward the face, keeping the eyes closed is often enough. When treating areas closer to the head or face, eye covers or protective eyewear can help reduce brightness and make sessions more comfortable.
Options like the Mito Red PRO Glasses in Dark (IR3) or Extra Dark (IR5) are designed specifically for red light therapy and can be useful with higher output panels, closer distances, or longer sessions. Eye protection is mainly about comfort, helping you relax and stay consistent with your routine.
Session Length Frequency and Physical Comfort
Sessions should feel comfortable, especially when starting out. Many people begin with short sessions of around 5 minutes or less per treatment area and gradually work up to 10 to 20 minutes as comfort allows. On average, red light therapy is often used around five sessions per week, with frequency adjusted based on comfort, schedule, and personal preference. If a session feels too warm or uncomfortable, it’s usually best to adjust distance, duration, or body position rather than pushing longer sessions.
Comfort also includes posture and support. Using chairs, benches, mats, or cushions can help you stay relaxed without needing to shift position during treatment. A setup that feels comfortable is easier to maintain consistently.
Key Points
-
Eye protection helps reduce brightness and improve comfort, especially for higher output panels or treatments near the face
-
Starting with shorter sessions and gradually increasing time is often easier to maintain
-
Most users work up to 10 to 20 minutes per treatment area, around five sessions per week, based on comfort.

Common Home Setup Mistakes to Avoid
Most setup issues come down to distance, consistency, or positioning. Avoiding these common mistakes can make sessions more comfortable and more effective without changing your equipment.
Incorrect Distance From the Device
For many red light therapy panels, distances greater than about 12 inches can reduce the amount of light reaching the body. Staying closer than this helps maintain consistent exposure across the treatment area. Distance should feel comfortable and allow you to remain in the same position for the full session without needing to move or adjust.
Doing Too Much or Too Little
Another common mistake is pushing sessions too long or using red light therapy too inconsistently. Very long sessions can feel fatiguing, while sessions that are too short or infrequent may not feel worthwhile. Finding a middle ground that feels comfortable and easy to repeat is more important than maximizing session length. Consistent use over time matters more than trying to do everything at once.
Poor Coverage and Body Position
Poor coverage often comes from panel placement or body position rather than the device itself. If the panel is too low, too high, or angled incorrectly, some areas may receive much less light than intended. Taking a moment to adjust height, angle, and body position before starting helps ensure even coverage and avoids the need to shift or reposition during the session.
Key Points
-
For many panels, distances greater than about 12 inches can reduce effective light exposure
-
Session length should feel comfortable and easy to repeat rather than pushed too long
-
Proper panel height, angle, and body position help ensure even coverage without needing to move during treatment
Expanding and Optimizing Your Setup Over Time
Most people start with a single panel or a targeted device and build from there. This makes it easier to learn what feels comfortable and how red light therapy fits into daily life without overcomplicating the setup. A common next step is adding a second panel along with a stand, which can improve coverage and make treatments more comfortable, especially when lying down.
As setups evolve, adding additional panels can help save time by treating more of the body at once. Some users expand into panel arrays for more efficient full-body sessions, while others add targeted devices for areas that benefit from closer positioning or more focused light.
The key is flexibility. Starting simple and expanding over time allows your setup to adapt to changing goals, comfort preferences, and schedules, while keeping treatments easy and consistent.
Frequently Asked Questions
How do you choose the best location for a home red light therapy setup?
Choose a space that is comfortable, practical, and easy to use regularly. The best location is one that fits your device size, supports your preferred body position, and helps you stay consistent.
How much space do you need for a red light therapy device at home?
The space needed depends on the device size and whether you are using a stand. Larger panels and multi panel setups need extra clearance, especially for stands and comfortable body positioning.
Do red light therapy panels make a room too hot?
Red light therapy devices do not usually overheat a room, but higher output panels or longer sessions can make the space feel warm over time. Basic airflow from an open door or small fan is often enough to stay comfortable.
What electrical setup should you think about for home red light therapy?
Power needs vary by device size and total wattage. Higher output setups may benefit from avoiding other high draw devices on the same circuit, and some larger setups may need a dedicated line.
Which type of red light therapy device is best for home use?
The best device depends on your goals, available space, and whether you want full body or targeted treatment. Panels are often the most versatile and convenient option for regular home use.
What is better for full body treatment versus targeted therapy?
Large panels, panel arrays, mats, and pods are better for full body coverage. Smaller panels, handheld devices, and belts are better for focused treatment on specific areas.
What body position works best for red light therapy at home?
That depends on your device and what feels most comfortable. Standing is common for larger panels, sitting works well for smaller or targeted setups, and lying down is ideal for mats, pods, or relaxed full body sessions.
Why does layout matter in a home red light therapy space?
A good layout helps keep treatment distance and coverage consistent from session to session. It also makes sessions easier and more comfortable by reducing the need to move or reposition during treatment.
What are common mistakes to avoid in a home setup?
Common mistakes include standing too far from the panel, using uncomfortable session lengths, and setting up poor panel height or angle. These issues can reduce coverage and make sessions harder to repeat consistently.
How should you expand a home red light therapy setup over time?
Most people start simple with one device and build from there. Adding more panels or targeted devices over time can improve coverage, save time, and make the setup better suited to changing goals.
This article discusses published scientific research and general educational information about photobiomodulation and red light therapy. It does not constitute medical advice and does not make specific claims about Mito Red Light devices. The research cited reflects independent peer-reviewed studies and does not imply that any Mito Red Light product has been evaluated, approved, or cleared by the FDA or any other regulatory body for the diagnosis, treatment, cure, or prevention of any disease or medical condition. Individual results vary. Consult a qualified healthcare professional before beginning any light therapy protocol, particularly if you have a pre-existing medical condition, are pregnant, or are taking photosensitising medications.
Mito Red Light products are general wellness devices. They are not medical devices and have not been evaluated, cleared, or approved by the FDA or any regulatory body for the diagnosis, treatment, cure, or prevention of any disease or medical condition. Any references to peer-reviewed research or clinical studies on this page describe findings from independent scientific literature and do not imply that Mito Red Light devices have been studied, tested, or proven effective for any specific condition. Always consult a qualified healthcare provider before beginning any new wellness routine, particularly if you have a medical condition or are taking medication.
Related articles
More from the protocols & how to use knowledge cluster